Glazing is a time-tested painting technique that involves applying thin, transparent layers of paint over a dry underpainting. This method allows light to pass through the layers, creating a sense of depth and luminosity that can’t be achieved with opaque paint alone. It’s a technique favored by both classical and contemporary artists to enrich colors and unify compositions.
Understanding Glazing
At its core, glazing is about layering. Each glaze modifies the appearance of the layer beneath, allowing for subtle shifts in color and tone. This technique is particularly effective for creating shadows, adjusting hues, and adding a glow to highlights. It’s commonly used in oil and acrylic painting, with each medium requiring specific approaches.
Materials You’ll Need
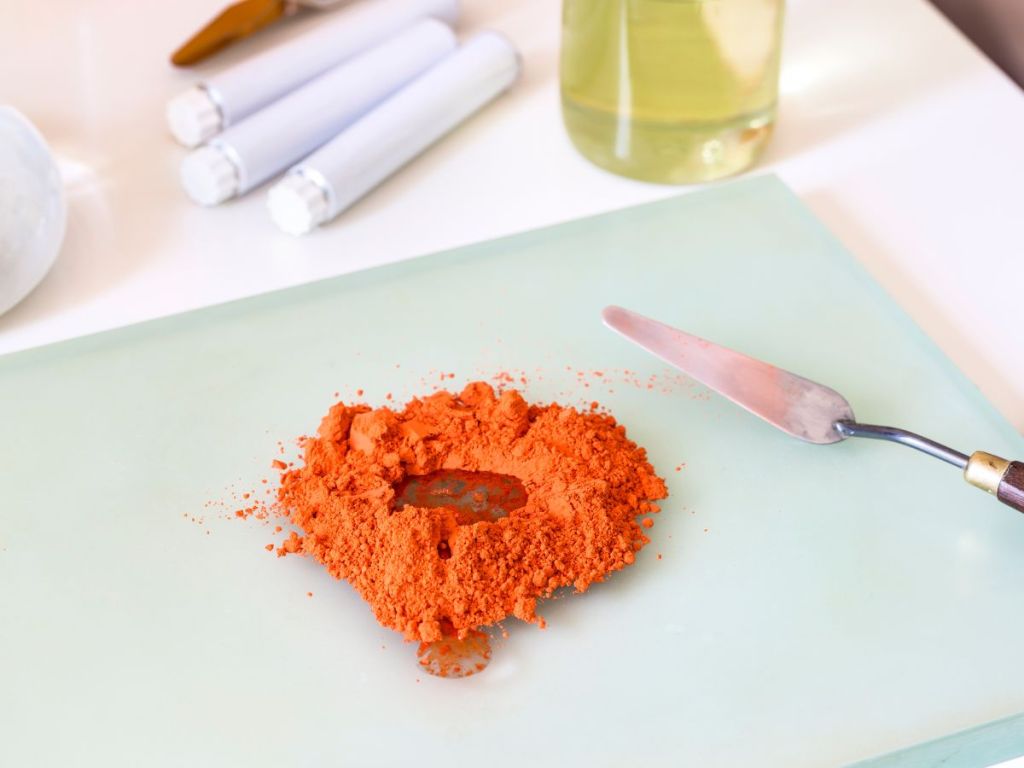
- Transparent pigments: Use pigments labeled as transparent or semi-transparent. These allow light to pass through, essential for the glazing effect.
- Medium: In oil painting, a mix of 1/2 linseed oil and a solvent like 1/2 turpentine is traditional. For acrylics, use a glazing medium designed to maintain transparency and adhesion.
- Soft brushes: Use soft, rounded brushes like filberts to apply glazes smoothly and avoid brush marks.
- Palette and mixing tools: A clean palette and mixing tools are essential for preparing your glaze mixtures.
Step-by-Step Glazing Process
- Prepare the underpainting. Start with a fully dried underpainting. This could be a monochromatic grisaille or a more detailed color layer.
- Mix the glaze. Combine your transparent pigment with the appropriate medium. The ratio depends on the desired transparency, but a common starting point is one part pigment to four parts medium.
- Apply the glaze. Using your soft brush, apply a thin, even layer over the area you wish to modify. Work gently to avoid disturbing the layers beneath.
- Let it dry. Allow the glaze to dry completely before applying additional layers. Drying times vary: acrylics may take 15–30 minutes, while oils can take several days.
- Repeat as needed. Multiple glaze layers can be applied to achieve the desired depth and color richness. Ensure each layer is dry before adding the next.

Tips for Successful Glazing
- Patience is key. Rushing the drying process can lead to muddied colors and disrupted layers.
- Use the ‘Fat Over Lean’ rule. In oil painting, each successive layer should have more oil than the one beneath to prevent cracking.
- Test your colors. Before applying a glaze to your painting, test it on a separate surface to see how it interacts with the underlying colors.
- Avoid overworking. Too many glaze layers can obscure details and flatten the painting. Use glazes strategically to enhance, not overwhelm.
Glazing is a powerful technique that, when used thoughtfully, can add a remarkable depth and vibrancy to your paintings. It requires patience and practice, but the results are often well worth the effort. Whether you’re working in oils or acrylics, understanding and applying glazing techniques can elevate your artwork to new levels.

Leave a comment