Still life painting has this timeless appeal: everyday objects become a stage for light, color, and form. Whether you’re just starting or you’re a professional looking to deepen your work, here are some practical yet inspiring tips to help you create still lifes that feel alive.
1. Start with a Thoughtful Composition
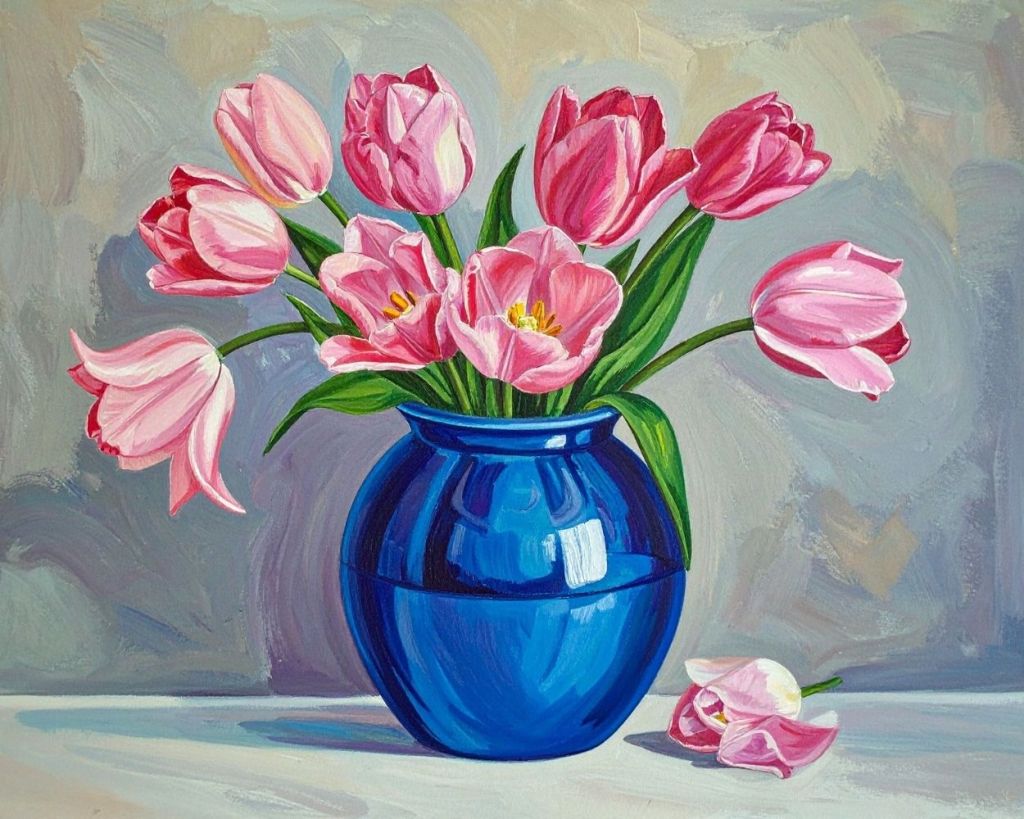
Composition is everything. Choose objects that relate visually, think texture, shape, color. Rather than arranging things symmetrically, play with variety: overlapping items, different sizes, smooth and rough surfaces. Try odd numbers (like three fruits or vessels) since it brings natural harmony.
Also, experiment with angles. Changing your viewpoint–bird’s eye, low angle, or slightly off center, shifts the visual balance and energy of the piece.
2. Set Up Intentional Lighting
Light shapes everything in a still life. A single, directional light source from one side (a lamp or a window) helps create strong highlights and deep shadows. If that’s too harsh, try diffusing the light with a thin cloth or frosted glass for softer transitions. Consistent lighting helps define both form and mood.
3. Think About Color and Value
Mixing is key. Use a limited but harmonious palette. Don’t treat shadows as just “black.” Add complementary or subtle tones to make them richer and more believable. For realism, squint your eyes at your setup and canvas. It helps simplify the values so you can block in light, midtones, and darks.

4. Use Edges Wisely
Not all edges are equal. Sharp edges are great for solid forms (like the rim of a glass), while soft, blended edges suggest roundness or subtle transitions. For a smoother, atmospheric effect, try layering thin glazes (a bit like the old sfumato technique) to blend transitions gently.
5. Give Static Objects Some Life
Still life isn’t about stiff arrangements. You can infuse a sense of movement. Use draped fabric, slightly off-kilter objects, or overlapping shapes to make the scene feel dynamic. Reflective surfaces (glass, metal) are especially powerful. Paint dark blocks first, then build in reflections and highlights.
6. Build in Layers
Work from general to specific. Start by blocking in the big shapes, then gradually add depth through shadow and midtone layers. Once that’s solid, switch to smaller brushes (round or filbert) for the details–highlights, texture, tiny reflections. If you’re working with oil, use mediums like Liquin to help blending and drying.
7. Use Texture and Brushwork
Don’t shy away from texture. Try impasto (thick paint) to emphasize form or highlight details. It adds physicality to your objects. At the same time, vary your brush strokes. A flat brush works well for structural shapes, while a softer brush helps with transitions and delicate touches.
8. Step Back and Reflect
Paint for a while, then take breaks. Step back often to evaluate your work from a distance. Squint or blur your vision slightly and you’ll spot imbalances in value, color, or edge quality that you don’t notice up close. If something feels off, don’t be afraid to scrap a portion and rework it.
9. Practice Observation Over Time
Still life painting is as much about training your eye as it is about brushwork. By repeating still life setups, you learn how light, form, perspective, and color interact. Even professionals lean on repeated still life studies to sharpen their visual understanding.

Leave a comment